Working with Digital Content
Working with Digital ContentThis section contains a number of quick introductions that you can use to help create and manage your digital content.
Cloud Storage
Cloud StorageOne Drive / Office 365
All Penn State faculty, staff, and students have access to a complete suite of apps in Office 365. Office 365 is integrated with Canvas which allows you easily access your OneDrive files within Canvas.
We encourage our students to make use of One Drive at Penn State to store coursework files.
How do I access OneDrive at Penn State?
Log in with your WebAccess credentials at Office 365 at Penn State.
Training on OneDrive
Google Drive
In addition to Office 365, all Penn State members have access to Google's Workspace.
How do I access Google Workspace at Penn State?
Log in with your WebAccess credentials at Penn State's Google Workspace.
Training on G Suite
Creating Videos
Creating VideosCreating Videos with Zoom
Recording a Presentation

To begin recording:
Once your meeting has started, at any time you can record your voice and what is taking place on your screen. Simply click on the Record button in the control bar on the meeting screen.
To stop recording:
When you are finished, click on one of the two Stop Recording buttons at the top of the meeting window or in the control bar.
Saving and Sharing Your Recording
When your presentation is over and you have stopped your recording, you must first end the meeting. To do this click on the Stop Share button. Then select the End Meeting For All option. This will close out the meeting.
With our Kaltura - Zoom integration all of your recorded Zoom sessions will automatically upload to Kaltura. Once the video is in Kaltura, you can upload it to any page in Canvas using the MyMedia Canvas integration.
Creating Videos with Kaltura
![]()
Penn State uses Kaltura for its online video management. Both faculty and staff have video-creating, editing, and storage capability with Kaltura. Any recorded Zoom meetings will automatically upload to Kaltura.
Kaltura within Canvas
With the Kaltura integration in Canvas, you can create videos anywhere you see the Canvas Rich Content Editor.
Click on the Kaltura icon in the editor to add your media.

Resources
Access the Penn State Media Space to log in to access and start using Kaltura.
View the Penn State Video Tutorials to learn more about using Kaltura.
Math Type Online
Math Type OnlineMath in Microsoft Word
The following guide will help you add symbols, subscript and superscript text, and equations to documents created in Microsoft Word. The steps for creating these text elements are listed for both Office 2016 for Mac users and Office 2016 (including Office 365) for Windows users.
Office 2016 for Windows
- Select the document where you would like to add a symbol.
- Select the Insert tab on the ribbon.
- Select Symbols. If you do not see the symbol you want click on More Symbols.
- Find the symbol you want and choose Insert.
Office 2016 for Mac or Office 365
- Select the document where you would like to add a symbol.
- Select the Insert tab on the ribbon.
- Select Advanced Symbols.
- Find the symbol you want and choose Insert.
Office 2016 for Windows, Mac, or Office 365
- On the Home tab, select Superscript or Subscript
Office 2016 for Windows, Mac, or Office 365
- Select the Insert tab on the ribbon.
- Select Equation.
- General Notes (depending on the type of equation)
- Use the Math Symbols section to browse common mathematical characters and operators.
- Choose a symbol to insert into your equation.
- Use the Structures section to browse the available equation objects.
- Select a category (i.e. Accent) to view the drop-down menu of objects in that group.
- Select an object to insert into your equation.
- Select the square(s) and type any values or text you want to be in the object.

- You can also select the squares(s) and insert symbols as above.
Dr. Zimmerman steps through the process in the following video.
Math in Canvas
Equations and math symbols are available in the rich content editor in Canvas. Equations can be added to discussion posts, quizzes and assignments.
The following video by Instructional Production Specialist, Kerri Weitzel, will demonstrate how to use the Canvas equation editor.
For additional resources, view How do I use the Math Editor in the Rich Content Editor in the Canvas guides.
Scanning and Uploading
Scanning and UploadingGetting your work from paper and pencil into a digital format may seem challenging. Fear not! This guide will help you determine what method will work best for your needs. Whether you need to turn in an assignment online, create a study guide, or send an example you've written via e-mail, the information below will help you get what you've written or drawn on paper onto your computer and ready to go!
Using a scanner is an easy way to get your written or drawn work into a digital format. If you are planning to digitize documents often, having a personal scanner will serve you well. You can find All-in-One printers (devices that include the print, copy, scan, and sometimes fax capabilities) at many retailers, both online and brick-and-mortar. These printer/scanner combos are relatively affordable at around \$100-\$150. Some tips for purchasing a scanner of your very own:
- If you are scanning multiple pages, look for a scanner that has a auto document feeder feature.
- Most All-in-One printers will allow you to scan directly to a USB memory device. If you want to save a step, look for a Scan-to-E-mail feature. If the device includes this type of feature, you can have the scanner send your document directly to your e-mail address.
- If you are going to do a lot of printing, getting an All-in-One laser printer may save you money in the long run. Black and white All-in-One laser printers typically start at around \$200 but the savings comes from not having to replace toner cartridges as often as ink cartridges.
Don't want to purchase a scanner?
Scanners are available at many public places, such as libraries, shipping stores (e.g., FedEx Kinkos, UPS Store), post offices, campus affiliated computer labs, etc. These locations may require you to pay for the use of their equipment, but it will get the job done! There will typically be a sales associate or attendant available to assist you in using the scanner. You may want to call ahead and ask what type of payment is required (it may be coin operated). It is also a good idea to ask if you should bring a USB memory device with you or if their scanners can e-mail you the file(s).
I've got my file(s). Now what?
If you don't know what the next steps are to getting your work to your instructor or another person, check out the helpful information at the bottom of this guide.
An easy way to digitize hand drawn work such as formulas, equations, or illustrations is to draw or write on a graphics tablet, like a Wacom Intuos tablet. Graphics tablets typically come with a tablet surface and pen. The pen becomes your mouse and you can use it to draw on the tablet. Wacom brand tablets are reliable and fairly affordable.
How does a graphics tablet work?
Graphics tablets often come with software that can be installed on your computer. Many times, this software will include an application that will capture your drawings and allow you save the file as an image or other file format (i.e. Adobe PDF).
Other options for using the tablet include working directly in applications that allow you to turn your mouse pointer into a "pen". Many graphic editing applications like Adobe Photoshop or "painting" applications, like Microsoft Paint, allow you to "paint" or "draw" with your mouse.
If you are using Windows you can use the Ink feature in Microsoft Office products or use the method below to draw and save your work:
Using PowerPoint
- Open up a new Microsoft PowerPoint presentation and create a presentation with the number of blank slides you think you will need to complete the assignment.
- Insert > Slide Number will allow you to add a date and pages numbers to your slides.
- Select Slide Show tab and view from the beginning.
- Right click mouse and select ball point pen in the Pointer Options.
- The pen writing on the tablet surface will appear on the screen. Hit space bar to go to next sheet and right-click End Show and the Save your Ink Annotations option.
- When your assignment is finished click on Save As > Save as PDF (pdf being the preferred file format for submission). Upload your file into the appropriate Canvas Assignment or Quiz.
- Be sure to check your instructor's requirements for submission!
What Do You Do With The Drawings?
Now you have a nice digital drawing or illustration of your work and you need to include it in your assignment. How do you do that? A simple method for integrating your new illustration with your assignments is to take the drawing file (as an image) and insert it into a Word document.
Regardless of how you create your assignments, it is always a good idea to make sure that ALL of the pages that you submit include your name.
I've got my drawing in a Word file. Now what?
If you don't know what the next steps are to getting your work to your instructor or another person, check out the helpful information at the bottom of this guide.
Another way you can draw equations and formulas or annotate documents is to use a mobile tablet device, like an iPad, Surface, or Galaxy Tab. These tablets have a wide variety of drawing of annotation apps, both free and paid, that you can find. Purchasing a tablet can be relatively expensive, but if you already own an iPad or other tablet, this might be the way for you to go!
Using one of the drawing or annotation apps on your tablet, you can draw pretty much anything you can think of. Once you have your drawings complete, most of the apps have the option to save your drawing as an image on your device.
Some apps will allow you to save your work as a PDF file too!
Once you have your image on your device you can e-mail it to yourself or directly to your instructor. As always, be sure to check your instructor's requirements for submission!
I've got my file(s) from my tablet. Now what?
If you don't know what the next steps are to getting your work to your instructor or another person, check out the helpful information at the bottom of this guide.
If you have written out your homework or quiz on a piece of paper, there are several apps that are available for your tablet or phone that will allow you to scan your hand written document. The 'scans' using these hand-held types of devices typically involve taking a picture of the document.While this might be convenient, not all of this software produces results that can be sent to an instructor.
Two Items to Monitor
- FILE SIZE: 'Scans' of documents that are simply photos will tend to be very large file sizes.
- CLARITY: Some cameras are better than others, and light conditions matter. If it can't be read, it can't be graded!
See below for Guidelines.
Whenever possible look for the option to scan and save your document as a PDF file!
Once you have your image on your device you can e-mail it to yourself or directly to your instructor. As always, be sure to check your instructor's requirements for submission!
I've got my file(s) from my tablet. Now what?
If you don't know what the next steps are to getting your work to your instructor or another person, check out the helpful information at the bottom of this guide.
Inserting an image in a Word document is very simple. Make sure you know where your image is being stored on your computer or external device (e.g., a USB memory drive). Once you know where your image is located, open up your Word document or create a new one. Move your cursor to where you'd like the image to be and follow one of the methods below.
To insert an image using the Ribbon:
- Click on the Picture icon
- Select Picture from File
- This will bring up the file browser.
- Locate your image using the file browser.
- Click once on your image file to select it.
- Click Insert.
To insert an image using the Menu:
- Click on the Insert menu at the top of the Word window.
- Select Photo > Picture from File
- This will bring up the file browser.
- Locate your image using the file browser.
- Click once on your image file to select it.
- Click Insert.
At this point you should have your image in your Word document! You can continue adding more images or text to your document and save your work when you are ready. That's all you need to do to add images to your document!
Guidelines for Submissions
The first thing you should do:
Once you have the file, it is good practice to ensure that the file is:
- within reasonable file size limits
- clearly readable, and
- complete and contained in one file.
Guidelines for Reasonable Scans
FILE SIZES: Your file sizes should meet the following guidelines:
- Quizzes (2 - 4 scanned pages) - should be less than 1 MB.
- Homework (4 - 6 scanned pages) - should be less than 1.5 MB
- Exams (7-8 scanned pages) - should be less than 2 MB
CLARITY: If it can't be read, it can't be graded! Lighting makes a difference. Good handwriting makes a difference! Click on the following sample links below to compare with the files that you plan to upload:
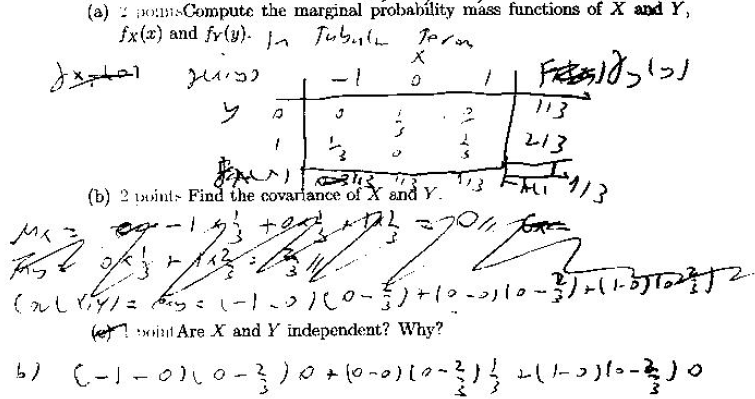
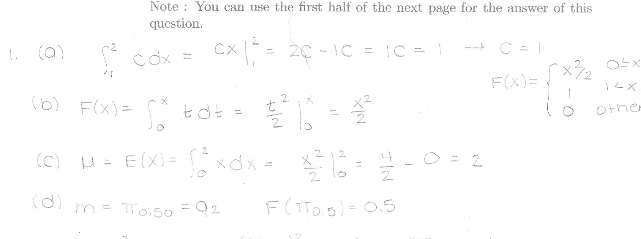
Unsatisfactory Examples
Acceptable Examples
Good Example 1 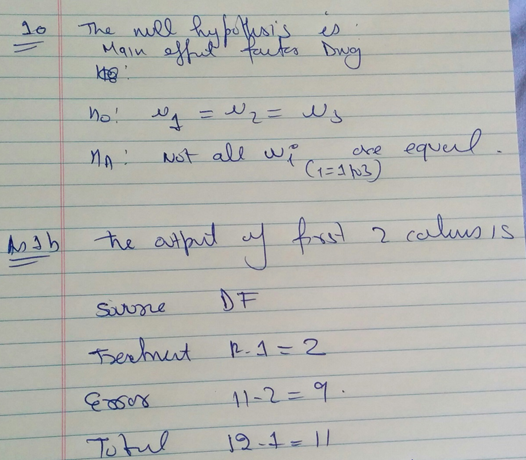
ONE FILE: Submitting several files for a single assignment can be confusing for instructors and for you when it comes to grading and feedback.
- Merge all of your files into one file. Either insert smaller images into a Word document (see above) or merge all of your separate pages into one .pdf file (see below).
- Make sure that all pages are portrait rather than landscape oriented and that none of your pages are upside down!
- Make sure all the pages are scanned properly so that nothing is missing! You should also make sure that ALL of the pages that you submit include your name. Usually the header or footer is a good place!
- If you are going to be submitting your file to Canvas, you will want to find the appropriately labeled Canvas assignment or quiz for your assignment and follow the steps in Canvas to submit your work. If your instructor has provided instructions, be sure to follow those instructions. Contact your instructor if it is unclear where your assignment should be sent.
Compressing and/or Merging PDF Files
If the file that you have scanned is still too large you can try compressing it.
Try the Compress PDF tool hosted at Smallpdf.
If you scanned multiple pages of work and ended up with more than one PDF file, there is a free online tool available to merge these files together. The tool is easy to use and has simple instructions available on its site.
Try the Merge PDF tool hosted at Smallpdf.
Once you have your new file you can follow the information above for submitting to Canvas or instructions that were provided by your instructor!